In today’s fast-paced world, your kitchen is the heart of the home—but those cabinet doors? They often end up as greasy magnets for fingerprints, spills, and cooking splatters. Imagine running your hand over a sticky handle or spotting dull smudges that no quick wipe can fix.
It’s frustrating, right? But what if the solution was already sitting in your pantry, forgotten and underused? Enter white vinegar—a humble kitchen staple that works wonders on dirty cabinets. This everyday liquid cuts through grime without harsh chemicals, leaving surfaces smooth, clean, and gleaming with just a few minutes of effort.
Forget expensive cleaners or endless scrubbing. This easy trick uses items you likely have on hand, saving you time and money. Whether your cabinets are laminate, painted, or sealed wood, this method can transform them. In this guide, we’ll break it down step by step, explain why it works, and share tips to keep your kitchen shining. Ready to say goodbye to that tacky buildup? Let’s dive in.
Why White Vinegar Is Your Kitchen Cabinet’s Best Friend
White vinegar isn’t just for pickling veggies or descaling kettles—it’s a powerhouse for tackling kitchen grime. Most folks stash a bottle in the back of the cupboard and forget about it, but this clear, tangy liquid has natural cleaning superpowers thanks to its mild acidity. That sour smell? It’s a sign of acetic acid, which gently dissolves the oily residues from everyday cooking.
Think about it: Steam from boiling pasta, oil splatters from frying, and even tiny food particles in the air create a sneaky film on your cabinets over time. This buildup feels sticky to the touch and dulls the shine. Regular sprays might mask the problem, but vinegar gets to the root by breaking those tough grease bonds. Paired with warm water and a touch of dish soap, it lifts dirt away like magic—without leaving streaks or residue.
We’ve all been there: A half-hearted swipe with a wet rag that just spreads the mess around. But with vinegar, you’ll see results almost instantly. One quick test on a hidden spot, and you’ll notice the difference—a smooth, fresh feel that makes your whole kitchen look (and feel) brighter. Plus, it’s eco-friendly, cheap (under a dollar for a big jug), and safe for most surfaces when used right. No wonder this old-school tip is making a comeback in busy modern homes.
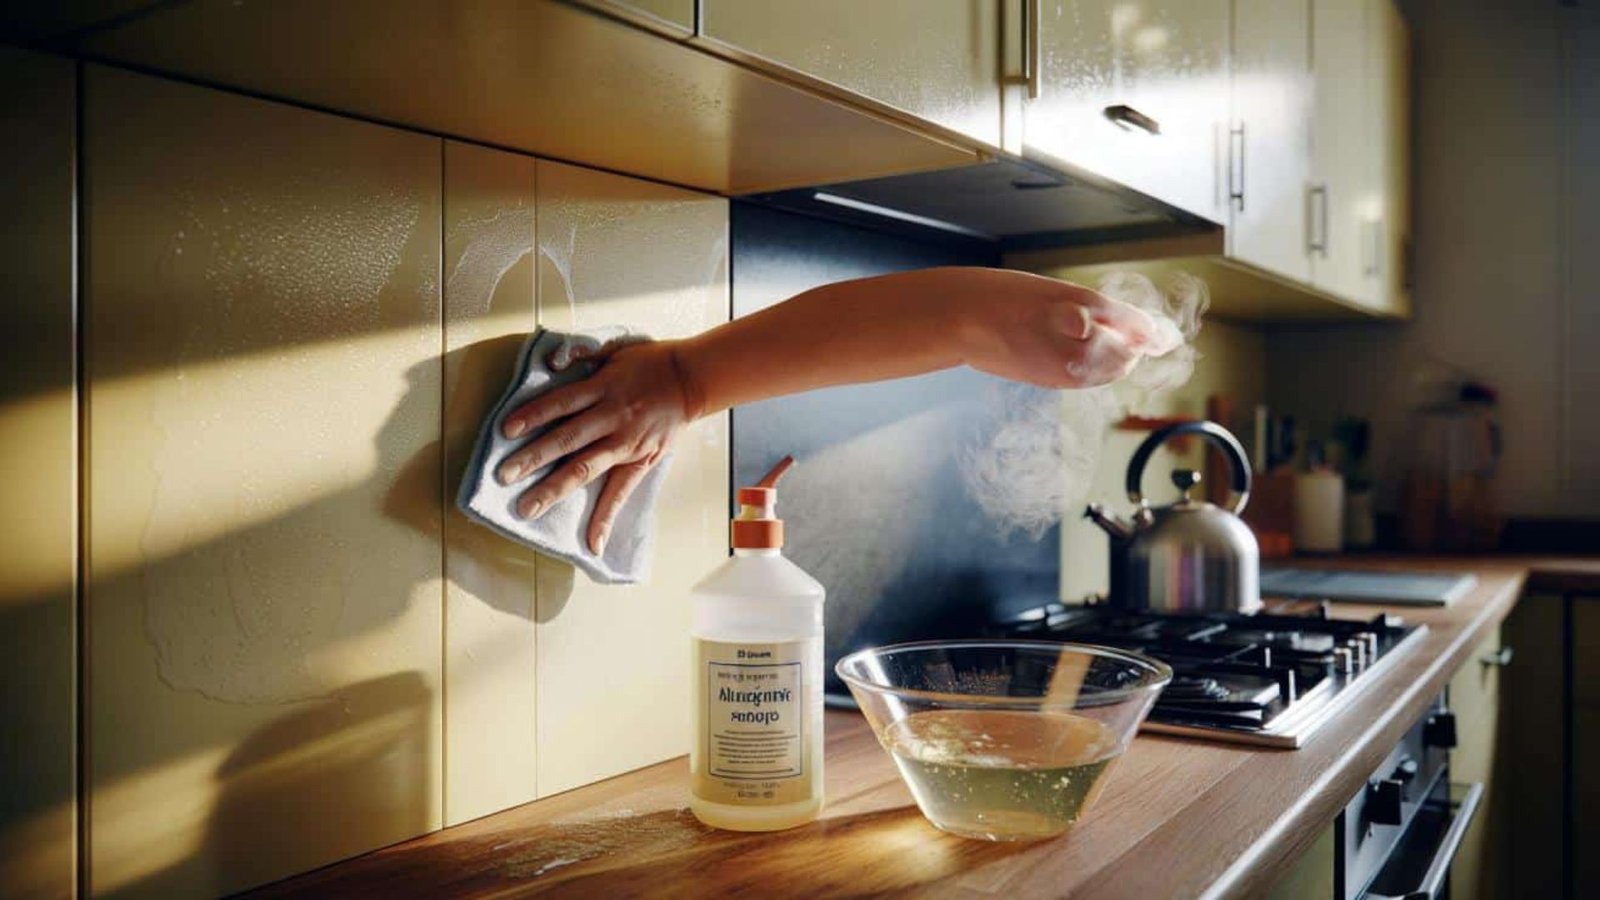
Step-by-Step: How to Clean Cabinets with Vinegar for a Shiny Finish
Getting started is a breeze—no fancy tools required. This method takes about 10-15 minutes for a standard kitchen and focuses on gentle, effective cleaning. Always begin with a small test area to ensure it suits your cabinets. Here’s how to do it:
Gather Your Supplies
Before you mix anything, round up these basics:
- White vinegar (distilled is best—avoid flavored kinds).
- Warm water (from the tap is fine).
- Mild dish soap (like the one you use for plates).
- A couple of soft microfiber cloths (they trap dirt better than cotton rags).
- Optional: A soft-bristle toothbrush for tricky crevices.
Mix Your Cleaning Solution
In a bowl or spray bottle, combine:
- 1 part white vinegar (e.g., 1/4 cup).
- 3 parts warm water (e.g., 3/4 cup—for light grime; use a 1:1 ratio for heavy buildup).
- Just 1 drop of dish soap (this helps lift oils without creating suds).
Stir gently. The warm water softens the dirt, vinegar eats away at grease, and the soap acts like a magnet to pull it off the surface. Pro tip: Shake the bottle before each use to remix.
Apply and Wipe Away the Grime
- Test first: Dab a bit on an inside cabinet edge or hidden corner. Wait 5 minutes and check for any color change or dulling.
- Wipe gently: Soak your cloth in the mix, wring it out so it’s damp (not soaking), and wipe in small circular motions. Start at the top and work down to avoid drips.
- Target trouble spots: Focus on greasy areas like around handles, above the stove, and near the sink. For edges or grooves, dip the toothbrush in the solution and brush lightly.
- Rinse and refresh: Swap to a clean cloth rinsed in plain warm water to wipe away any leftover mix. This neutralizes the vinegar’s tang.
- Buff for shine: Dry with a fresh, soft cloth using firm strokes. Your cabinets will feel velvety and look polished—like they’ve had a spa day.
Change your rinse water if it gets cloudy, and work in sections to keep things manageable. For a full kitchen, tackle one wall at a time. The best part? No harsh fumes or elbow grease needed.
Quick Tips and Common Mistakes to Avoid
To make this hack even more foolproof, here’s a handy table of do’s and don’ts:
| Do’s | Don’ts |
|---|---|
| Dilute the vinegar—always mix with water to protect finishes. | Use straight (undiluted) vinegar; it can etch paint or dry out wood. |
| Rinse with plain water after cleaning to fade the smell fast. | Skip testing—especially on fancy or antique cabinets. |
| Use microfiber cloths for lint-free results. | Scrub hard; gentle circles prevent scratches. |
| Clean every 3-4 weeks near the stove to stop buildup. | Mix with other cleaners; it can create irritating vapors. |
| Let tough spots sit for 1 minute before wiping. | Overdo the soap—one drop is plenty to avoid residue. |
These simple rules keep your efforts safe and effective. Remember, patience pays off: A light touch yields big results.
The Bigger Wins: Why This Vinegar Trick Feels Like a Kitchen Reset
Beyond the sparkle, this method taps into something deeper—a quick win that calms the chaos of daily life. In an era of smart gadgets and subscription wipes, going back to basics feels refreshing. Vinegar costs pennies, uses zero plastic packaging, and multitasks (try it on windows, faucets, or even microwave doors). It’s a small rebellion against clutter, turning a chore into a satisfying ritual.
Regular use means less overwhelming deep cleans later. Your kitchen won’t just look better—it’ll feel better, with smoother doors that glide without sticking. Neighbors swear by it, and online buzz (from quick video demos to chatty forums) shows it’s a go-to for renters, parents, and pros alike. As of November 30, 2025, with rising costs and eco-awareness, this timeless tip is hotter than ever—proving simple solutions still rule.
Conclusion: Sparkle Starts with What You Already Have
Reviving grimy kitchen cabinets doesn’t require a shopping spree or hours of scrubbing. White vinegar, that overlooked pantry hero, delivers smooth, shiny results with everyday ease. By breaking down grease naturally and safely, it restores your space’s vibe without the hassle. Give this hack a whirl today—you’ll wonder why you waited so long. Your cabinets (and your sanity) will thank you. For more kitchen glow-ups, stick around for eco-friendly tips that keep your home humming.
FAQ: Your Vinegar Cleaning Questions Answered
Can I Use This Vinegar Mix on All Cabinet Types?
Yes, for most—like laminate, painted, or sealed wood. But for oiled, waxed, or natural wood, test a few hidden spots first and use a weaker mix to avoid drying it out.
Does Vinegar Leave a Lingering Smell?
Nope—the sharp scent vanishes as it dries, usually in minutes. A quick rinse with plain water and a cracked window seals the deal.
How Often Should I Clean My Cabinets This Way?
Aim for every 3-4 weeks on high-grease zones (like above the stove). The rest? Every 1-2 months keeps things fresh without overdoing it.
What If the Grime Is Super Stubborn?
Bump up to a 1:1 vinegar-water ratio, let it sit for a minute, then wipe. For crevices, a soft toothbrush works wonders—just no abrasives!
Is It Safe to Mix Vinegar with Other Cleaners?
Better not—combining can weaken the formula or release funky smells. Keep it pure: vinegar, water, and that one drop of soap.